本文将讲解CSRF相关的安全问题, 以及如何使用[Spring Security]进行防御.
CSRF原理
想要防御 CSRF 攻击,那我们得先搞清楚什么是 CSRF 攻击,下面这张图以及图后的文字描述梳理 CSRF 攻击流程:
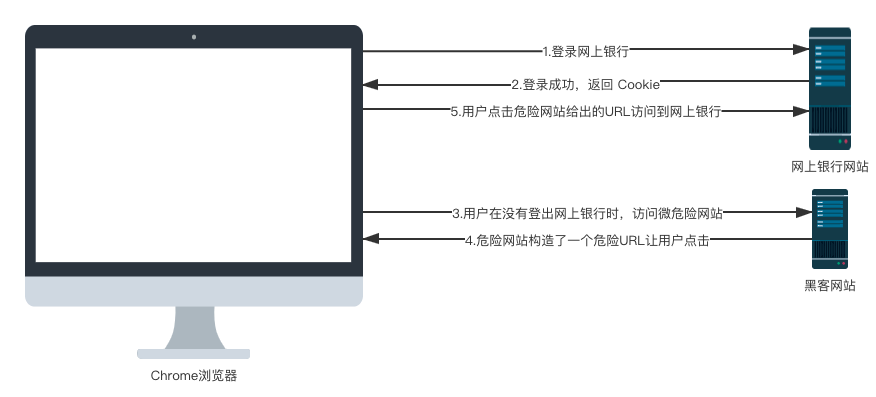
其实这个流程很简单:
- 假设用户打开了招商银行网上银行网站,并且登录。
- 登录成功后,网上银行会返回 Cookie 给前端,浏览器将 Cookie 保存下来。
- 用户在没有登出网上银行的情况下,在浏览器里边打开了一个新的选项卡,然后又去访问了一个危险网站。
- 这个危险网站上有一个超链接,超链接的地址指向了招商银行网上银行。
- 用户点击了这个超链接,由于这个超链接会自动携带上浏览器中保存的 Cookie,所以用户不知不觉中就访问了网上银行,进而可能给自己造成了损失。
CSRF 的流程大致就是这样,接下将用一个简单的例子展示一下 CSRF 到底是怎么回事。
CSRF实践
建项目
创建一个名为 csrf-1 的 Spring Boot 项目,这个项目相当于我们上面所说的网上银行网站,创建项目时引入 Web 和 Spring Security 依赖,如下:
引依赖
1
2
3
4
5
6
7
8
9
10
11
12
| <dependencies>
<dependency>
<groupId>org.springframework.boot</groupId>
<artifactId>spring-boot-starter-web</artifactId>
<version>2.6.8</version>
</dependency>
<dependency>
<groupId>org.springframework.boot</groupId>
<artifactId>spring-boot-starter-security</artifactId>
<version>2.6.8</version>
</dependency>
</dependencies>
|
写yml
1
2
3
4
5
6
7
| server:
port: 8081
spring:
security:
user:
name: Joshua
password: 1234
|
配置了Spring Security内存用户.
配置SpringSecurityConfig
1
2
3
4
5
6
7
8
9
10
11
12
13
14
15
16
17
18
19
20
21
22
| package org.example.config;
import org.springframework.context.annotation.Configuration;
import org.springframework.security.config.annotation.web.builders.HttpSecurity;
import org.springframework.security.config.annotation.web.configuration.WebSecurityConfigurerAdapter;
@Configuration
public class SpringSecurityConfig extends WebSecurityConfigurerAdapter {
@Override
protected void configure(HttpSecurity http) throws Exception {
http.authorizeRequests().anyRequest().authenticated()
.and()
.formLogin()
.and()
.csrf().disable();
}
}
|
Controller接口
1
2
3
4
5
6
7
8
9
10
11
12
13
14
15
16
17
18
19
20
21
22
23
| package org.example.controller;
import org.springframework.web.bind.annotation.GetMapping;
import org.springframework.web.bind.annotation.PostMapping;
import org.springframework.web.bind.annotation.RestController;
@RestController
public class HelloController {
@PostMapping("/transfer")
public void transferMoney(String name, Integer money) {
System.out.println("name = " + name);
System.out.println("money = " + money);
}
@GetMapping("/hello")
public String hello() {
return "hello";
}
}
|
注意⚠️:
- Controller中假设 /transfer 是一个转账接口(这里是假设,主要是给大家演示 CSRF 攻击,真实的转账接口比这复杂)。
- 因为 Spring Security 中默认是可以自动防御 CSRF 攻击的,所以我们要把这个关闭掉了. 即 SpringSecurityConfig#configure中的.csrf().disable();
准备项目csrf-2
引依赖
1
2
3
4
5
6
7
| <dependencies>
<dependency>
<groupId>org.springframework.boot</groupId>
<artifactId>spring-boot-starter-web</artifactId>
<version>2.6.8</version>
</dependency>
</dependencies>
|
写yml
新建
请求入口html
在 resources/static/下新建hello2.html, 具体内容:
1
2
3
4
5
6
7
8
9
10
11
12
13
14
| <!DOCTYPE html>
<html lang="en">
<head>
<meta charset="UTF-8">
<title>Title</title>
</head>
<body>
<form action="http://localhost:8081/transfer" method="post">
<input type="hidden" value="Josh" name="name">
<input type="hidden" value="10000" name="money">
<input type="submit" value="点击查看美女图片">
</form>
</body>
</html>
|
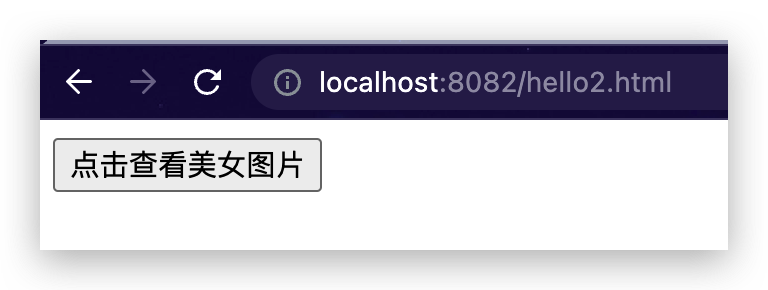
这里有一个超链接,超链接的文本是点击查看美女图片,当你点击了超链接之后,会自动请求 http://localhost:8081/transfer 接口,同时隐藏域还携带了两个参数。
配置完成后,就可以启动 csrf-2 项目了。
接下来,用户首先访问 csrf-1 项目中的接口,在访问的时候需要登录,用户就执行了登录操作,访问完整后,用户并没有执行登出操作,然后用户访问 csrf-2 中的页面,看到了超链接,好奇这美女到底长啥样,一点击,结果钱就被人转走了。
测试
启动两个项目: csrf-1 和 csrf-2, 按下面的请求顺序演示CSRF攻击的原理:
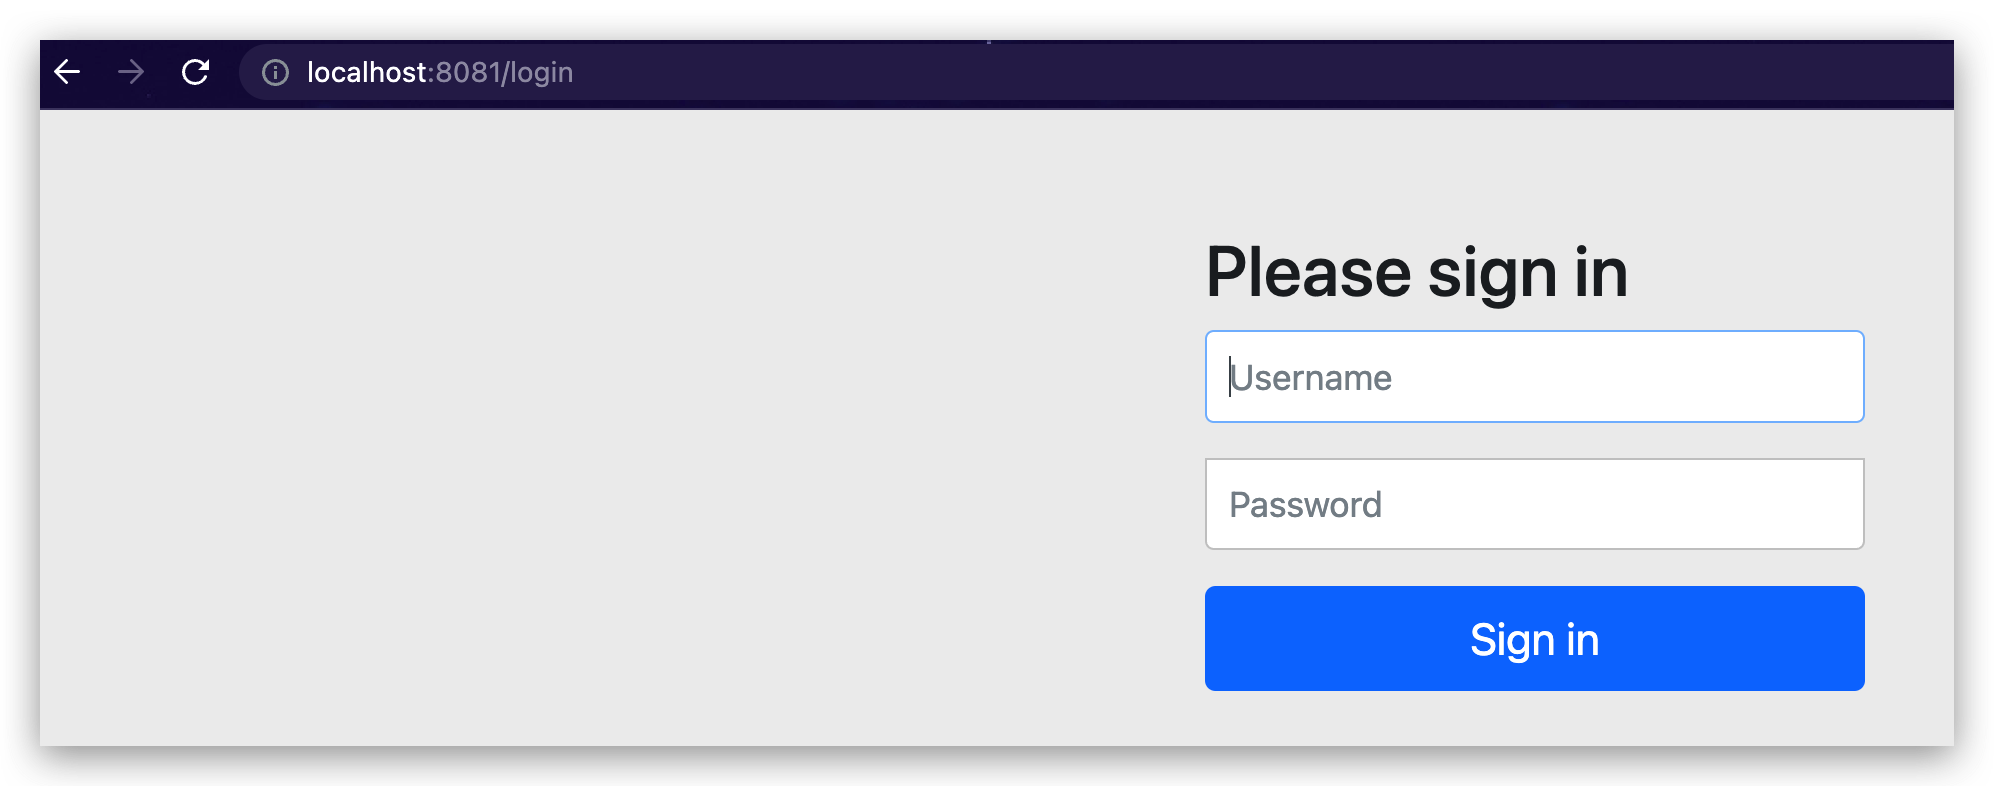
- 用户访问csrf-1接口hello, 首先会跳转到登陆页面
- 用户登陆成功访问到了接口hello
- 然后用户访问了恶意网站csrf-2的页面hello2.html, 点击页面按钮.
- 因为用户刚刚访问过csrf-1的接口, 浏览器此时是保留有其cookie和session信息的. 所以点击完hello2.html页面的按钮后请求csrf-1的transfer接口时会自动鞋带上浏览器里的cookie, 从而使得请求成功.
查看后台发现转账成功, 说明CSRF攻击成功.

CSRF防御
CSRF 防御,一个核心思路就是在前端请求中,添加一个随机数。 因为在 CSRF 攻击中,黑客网站其实是不知道用户的 Cookie 具体是什么的,他是让用户自己发送请求到网上银行这个网站的,因为这个过程会自动携带上 Cookie 中的信息。
所以我们的防御思路是这样:用户在访问网上银行时,除了携带 Cookie 中的信息之外,还需要携带一个随机数,如果用户没有携带这个随机数,则网上银行网站会拒绝该请求。黑客网站诱导用户点击超链接时,会自动携带上 Cookie 中的信息,但是却不会自动携带随机数,这样就成功的避免掉 CSRF 攻击了。
Spring Security 中对此提供了很好的支持,我们一起来看下。
前后端一体化项目解决方案
建项目
Spring Security 中默认实际上就提供了 csrf 防御,但是需要开发者做的事情比较多。 首先我们来创建一个新的 Spring Boot 工程.
引依赖
创建时引入 Spring Security、Thymeleaf 和 web 依赖。
1
2
3
4
5
6
7
8
9
10
11
12
13
14
15
16
17
| <dependencies>
<dependency>
<groupId>org.springframework.boot</groupId>
<artifactId>spring-boot-starter-web</artifactId>
<version>2.6.8</version>
</dependency>
<dependency>
<groupId>org.springframework.boot</groupId>
<artifactId>spring-boot-starter-security</artifactId>
<version>2.6.8</version>
</dependency>
<dependency>
<groupId>org.springframework.boot</groupId>
<artifactId>spring-boot-starter-thymeleaf</artifactId>
<version>2.3.4.RELEASE</version>
</dependency>
</dependencies>
|
写yaml
1
2
3
4
5
6
7
8
9
10
11
12
| server:
port: 8083
spring:
security:
user:
name: root
password: 123
thymeleaf:
prefix: classpath:/templates/
suffix: .html
cache: false
check-template-location: true
|
新建测试接口
1
2
3
4
5
6
7
8
9
10
11
12
13
14
15
16
17
18
19
20
21
22
23
24
| package org.example.controller;
import org.springframework.stereotype.Controller;
import org.springframework.web.bind.annotation.GetMapping;
import org.springframework.web.bind.annotation.PostMapping;
import org.springframework.web.bind.annotation.ResponseBody;
@Controller
public class Hello3Controller {
@GetMapping("/hello3")
public String hello3() {
return "hello3";
}
@PostMapping("/hello3")
@ResponseBody
public String hello() {
return "hello3 string";
}
}
|
GET 接口是用来访问html前端页面对应接口, POST接口是真正测试接口,因为默认情况下,GET、HEAD、TRACE 以及 OPTIONS 是不需要验证 CSRF 攻击的。
页面模板
1
2
3
4
5
6
7
8
9
10
11
12
13
| <!DOCTYPE html>
<html lang="en" xmlns:th="http://www.thymleaf.org">
<head>
<meta charset="UTF-8">
<title>Title</title>
</head>
<body>
<form action="/hello3" method="post">
<input type="hidden" th:value="${_csrf.token}" th:name="${_csrf.parameterName}">
<input type="submit" value="hello3">
</form>
</body>
</html>
|
_<input type="hidden" th:value="${_csrf.token}" th:name="${_csrf.parameterName}">_
注意⚠️: 在发送 POST 请求的时候,还额外携带了一个隐藏域,隐藏域的 key 是 ${_csrf.parameterName},value 则是 ${_csrf.token}。这两个值服务端会自动带过来,我们只需要在前端渲染出来即可。
必须要加这一行, 因为我们添加了
测试
本项目启动跳转参数观察
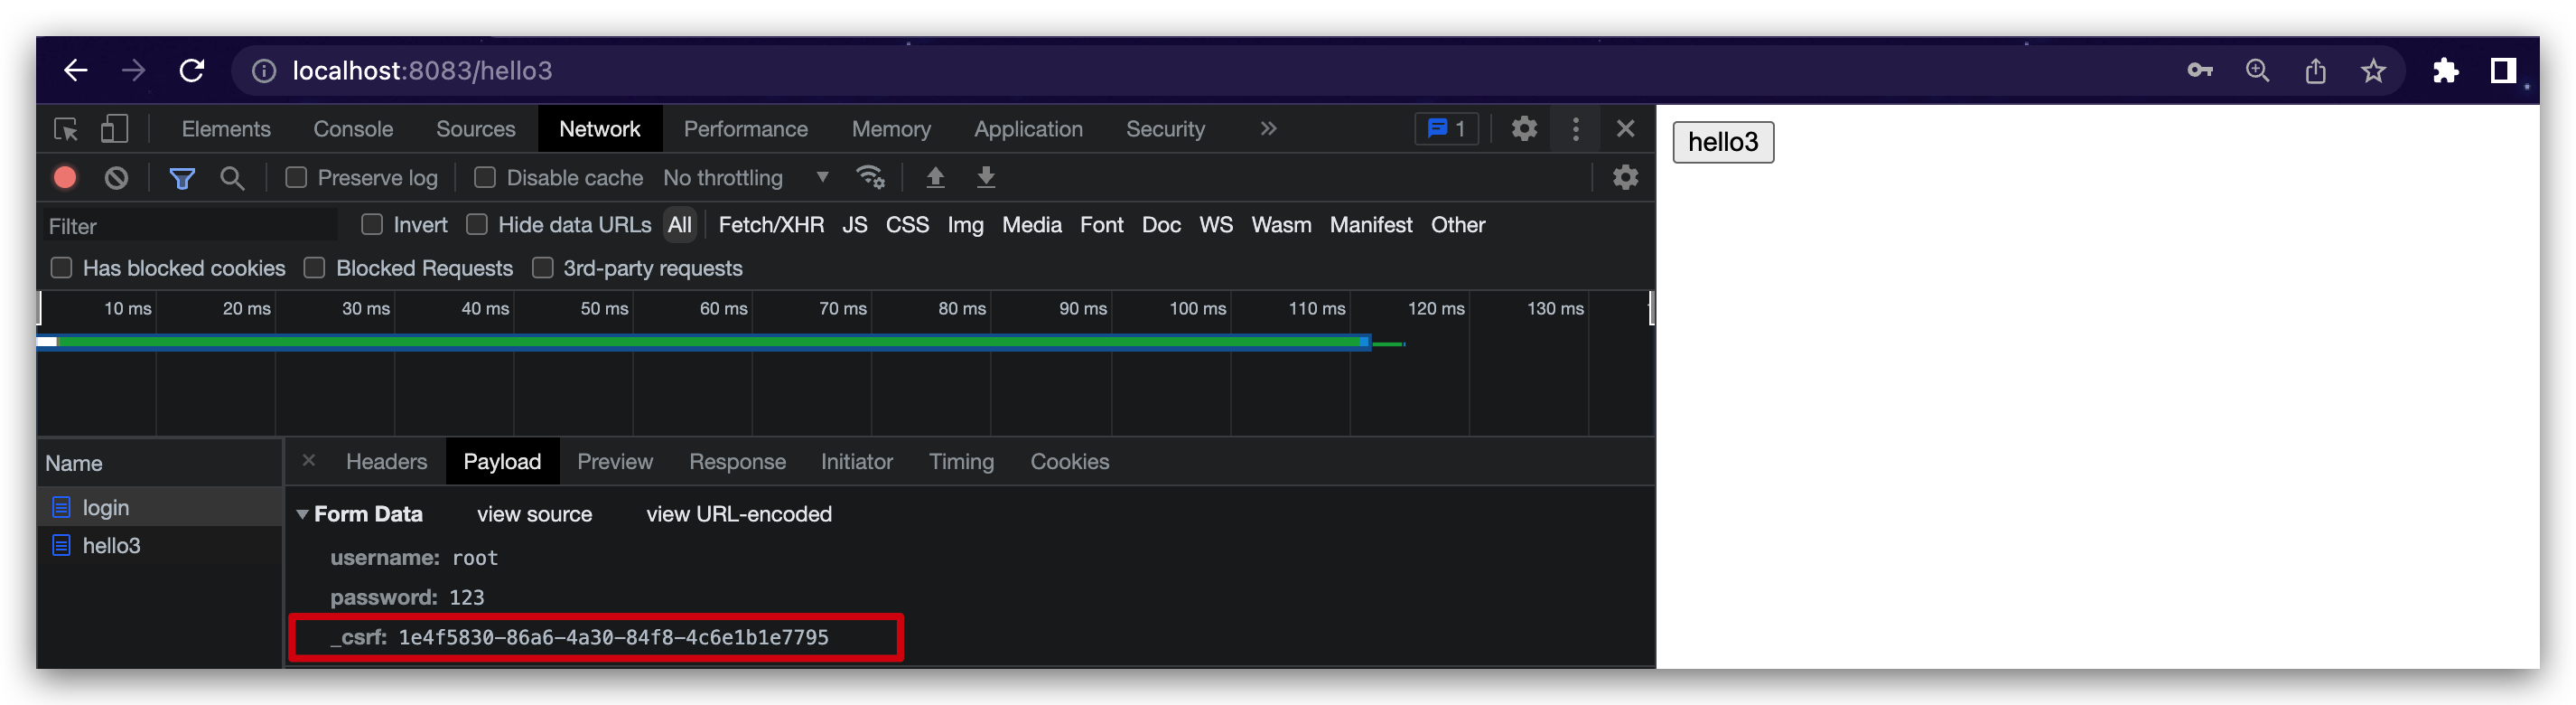
添加完成后,启动项目,我们访问 hello 页面,在访问时候,需要先登录,登录成功之后,我们可以看到登录请求中也多了一个参数,如下:
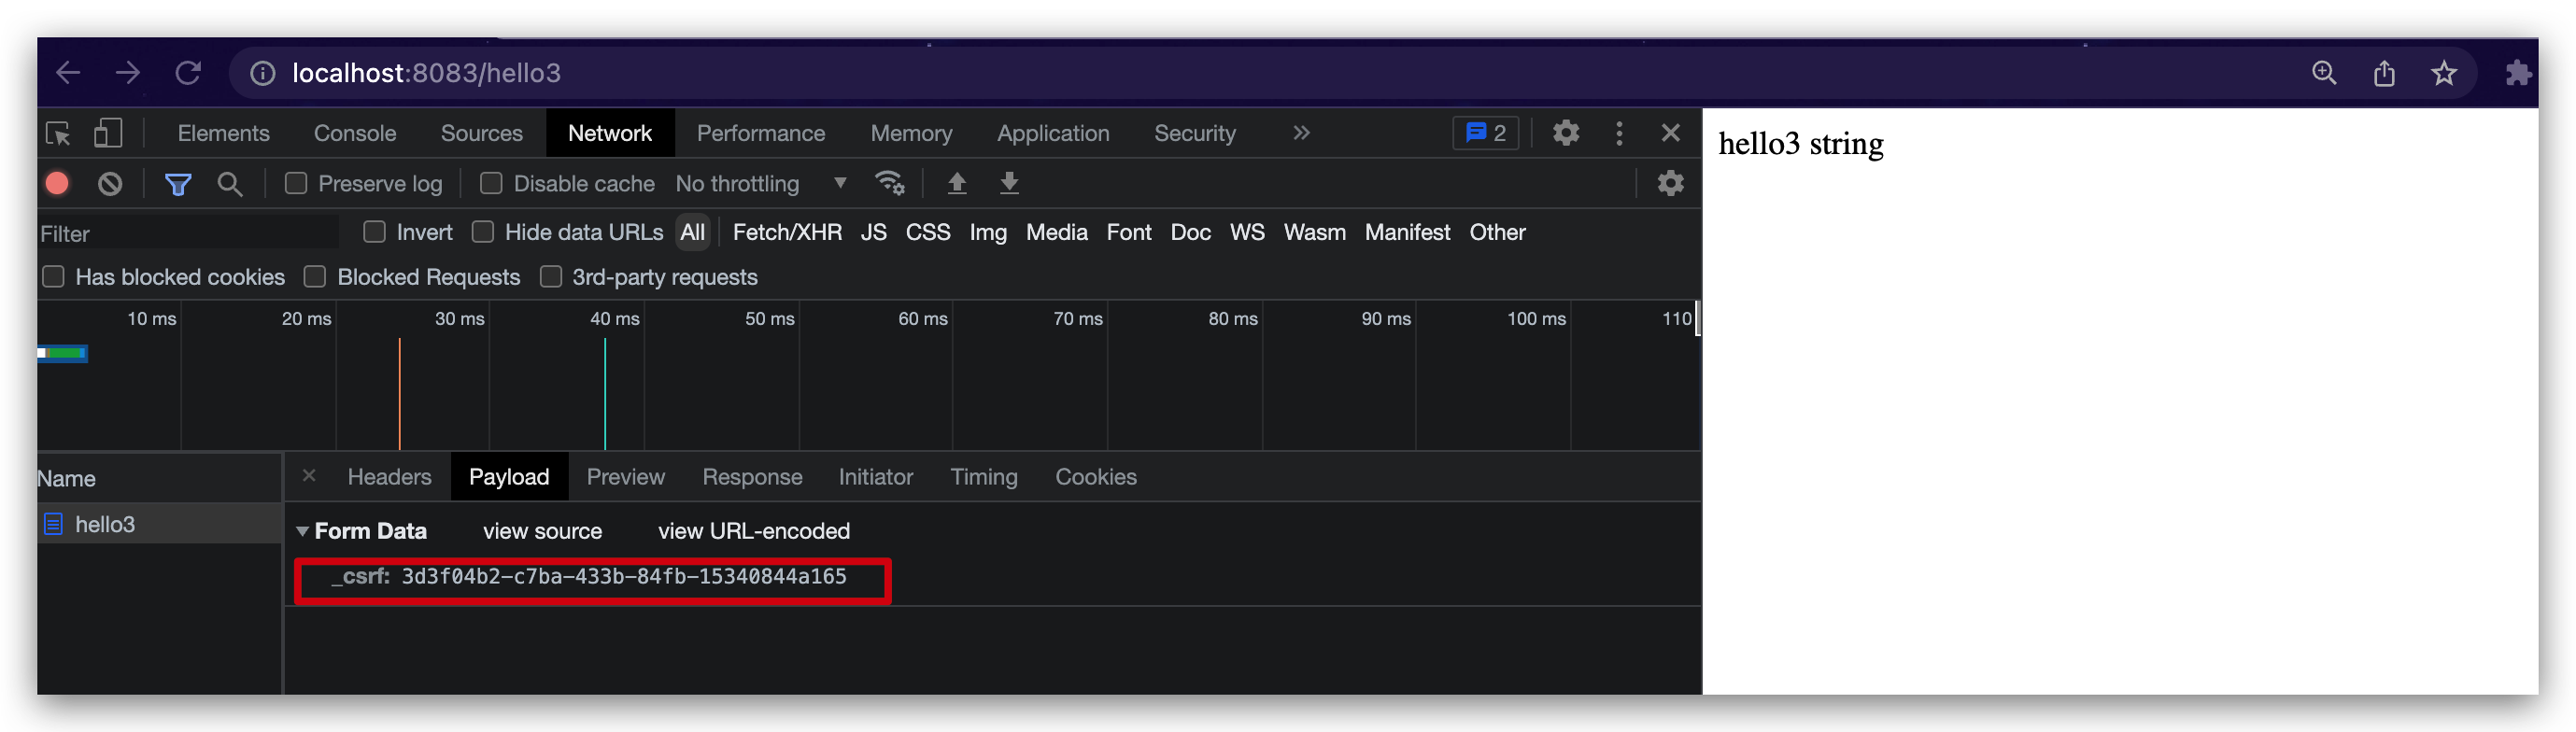
然后通过上面的按钮再去访问POST请求接口发现_csrf参数又变化了:
外部项目CSRF尝试攻击
如果通过8082项目启动, 在8083项目登陆后, 通过8082跳转请求8083的POST接口, 注意记得修改8082的前端form表单请求路径:
1
2
3
4
5
6
7
8
9
10
11
12
13
14
15
16
17
18
19
20
21
| <!DOCTYPE html>
<html lang="en">
<head>
<meta charset="UTF-8">
<title>Title</title>
</head>
<body>
<form action="http://localhost:8081/transfer" method="post">
<input type="hidden" value="Josh" name="name">
<input type="hidden" value="10000" name="money">
<input type="submit" value="点击查看美女图片">
</form>
<form action="http://localhost:8083/hello3" method="post">
<input type="hidden" value="Josh" name="name">
<input type="hidden" value="10000" name="money">
<input type="submit" value="点击查看美女图片2">
</form>
</body>
</html>
|
发现点击请求8083项目的按钮后:
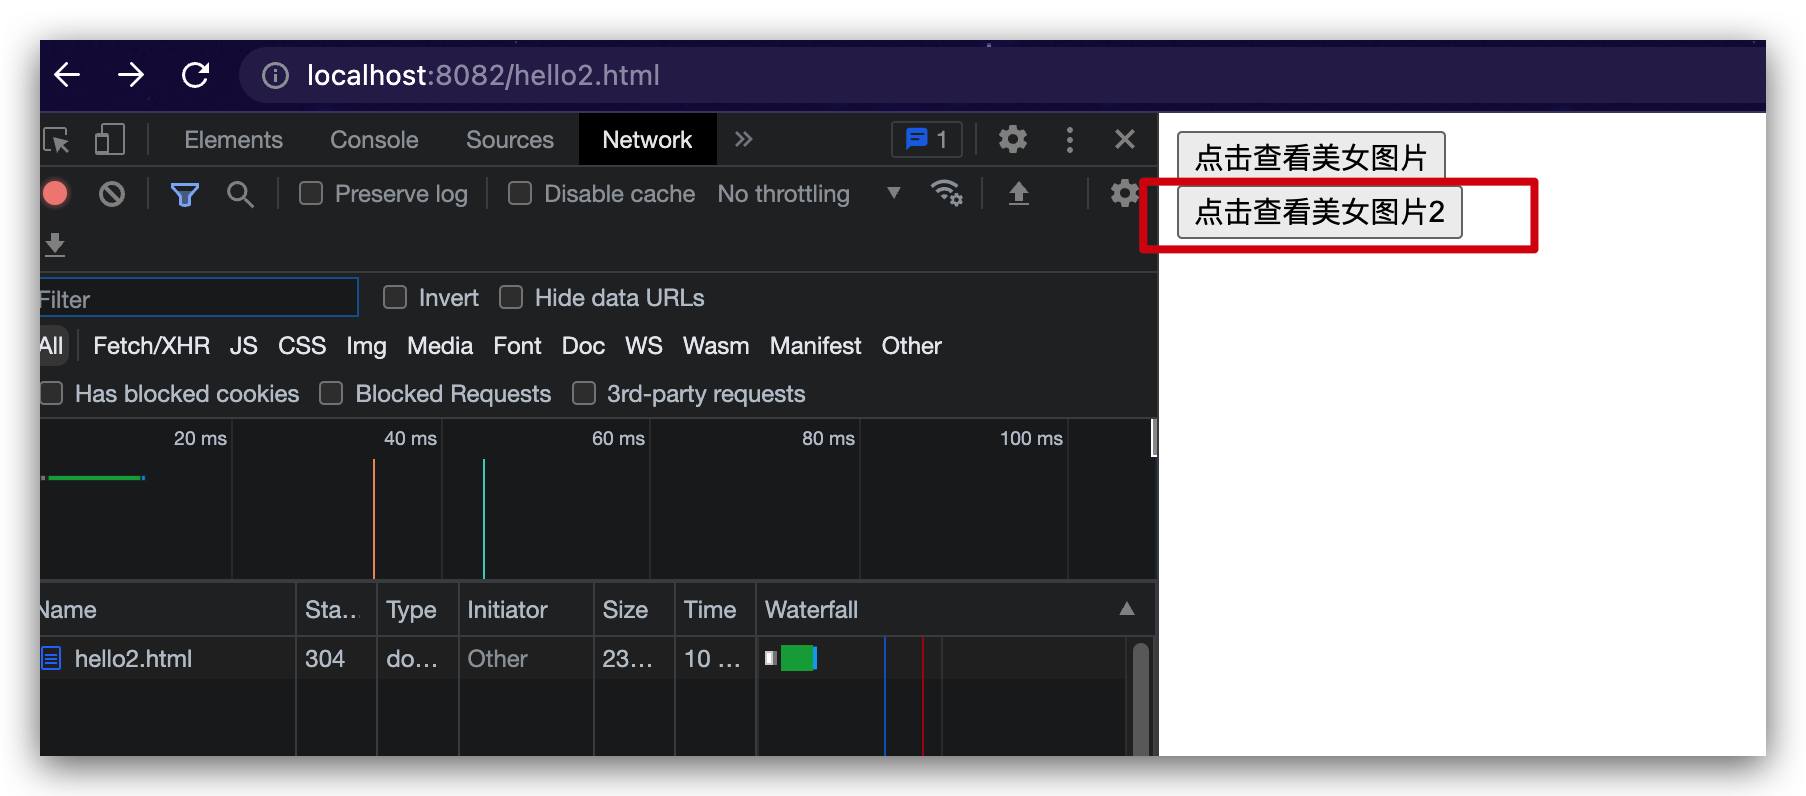
虽然请求header携带了cookie (该cookie也就是8083服务端返回给客户端的cookie)
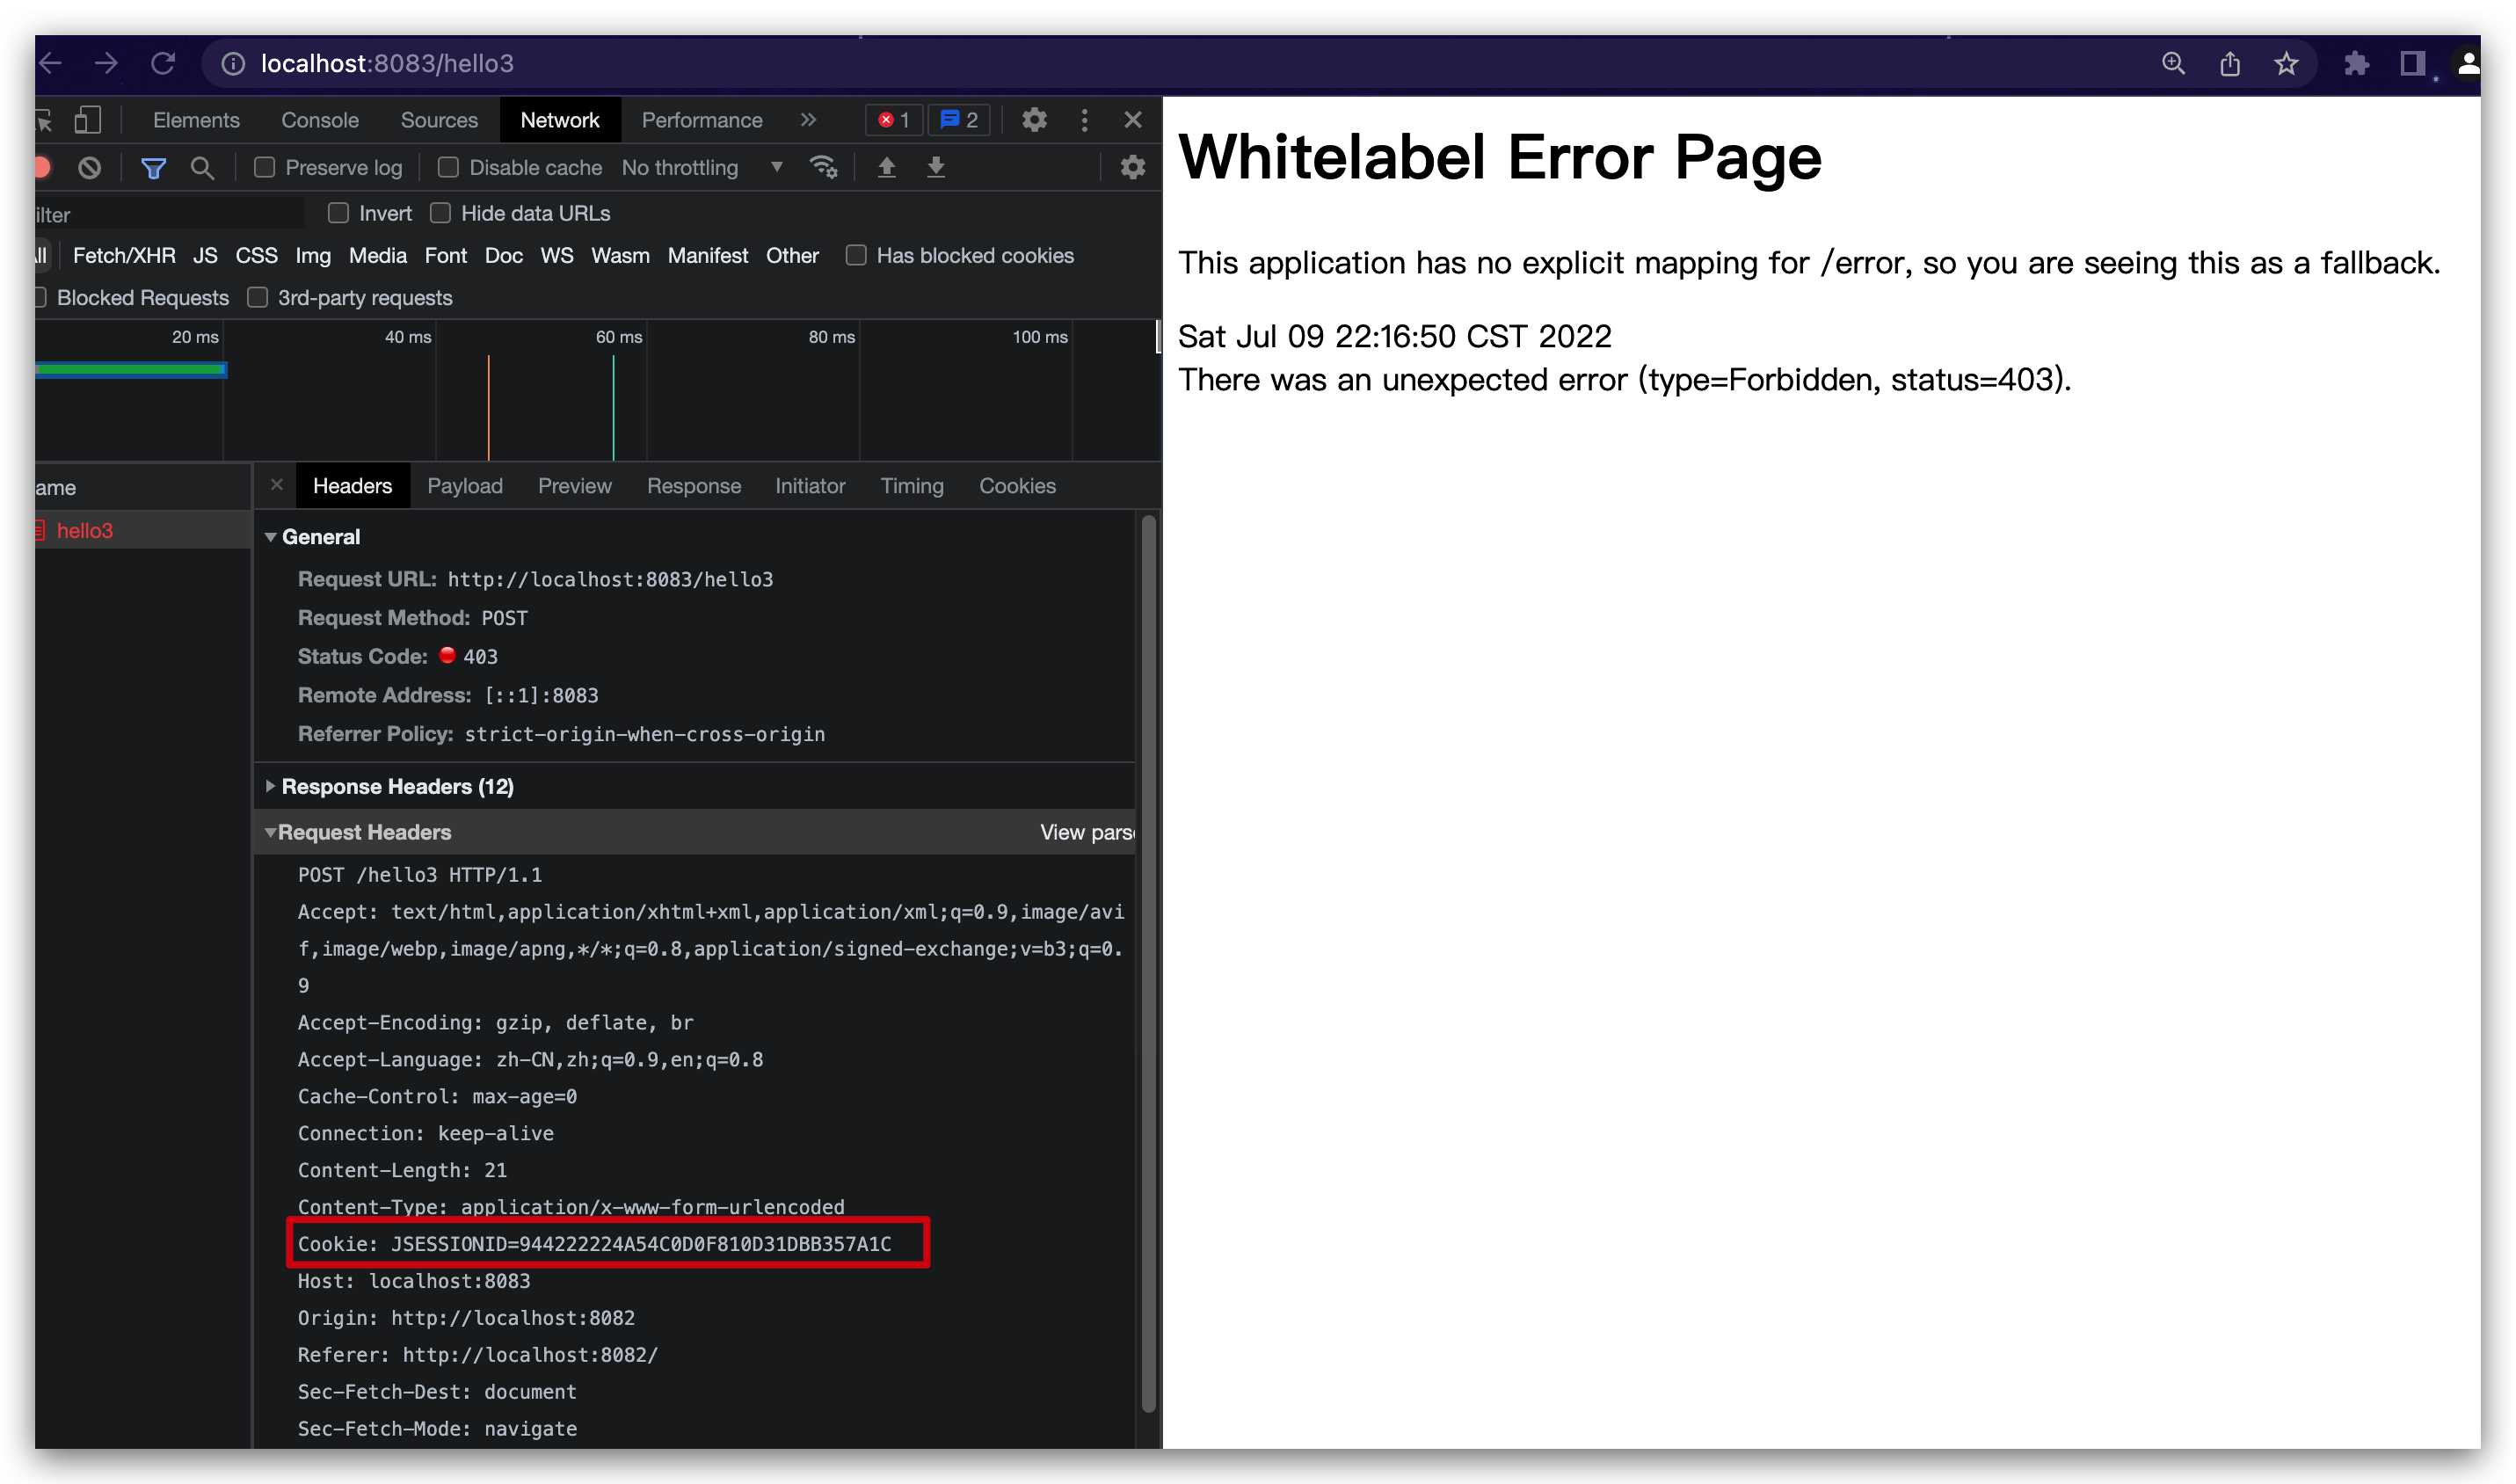
但是因为请求表单参数少了_csrf, 所以校验身份还是403,
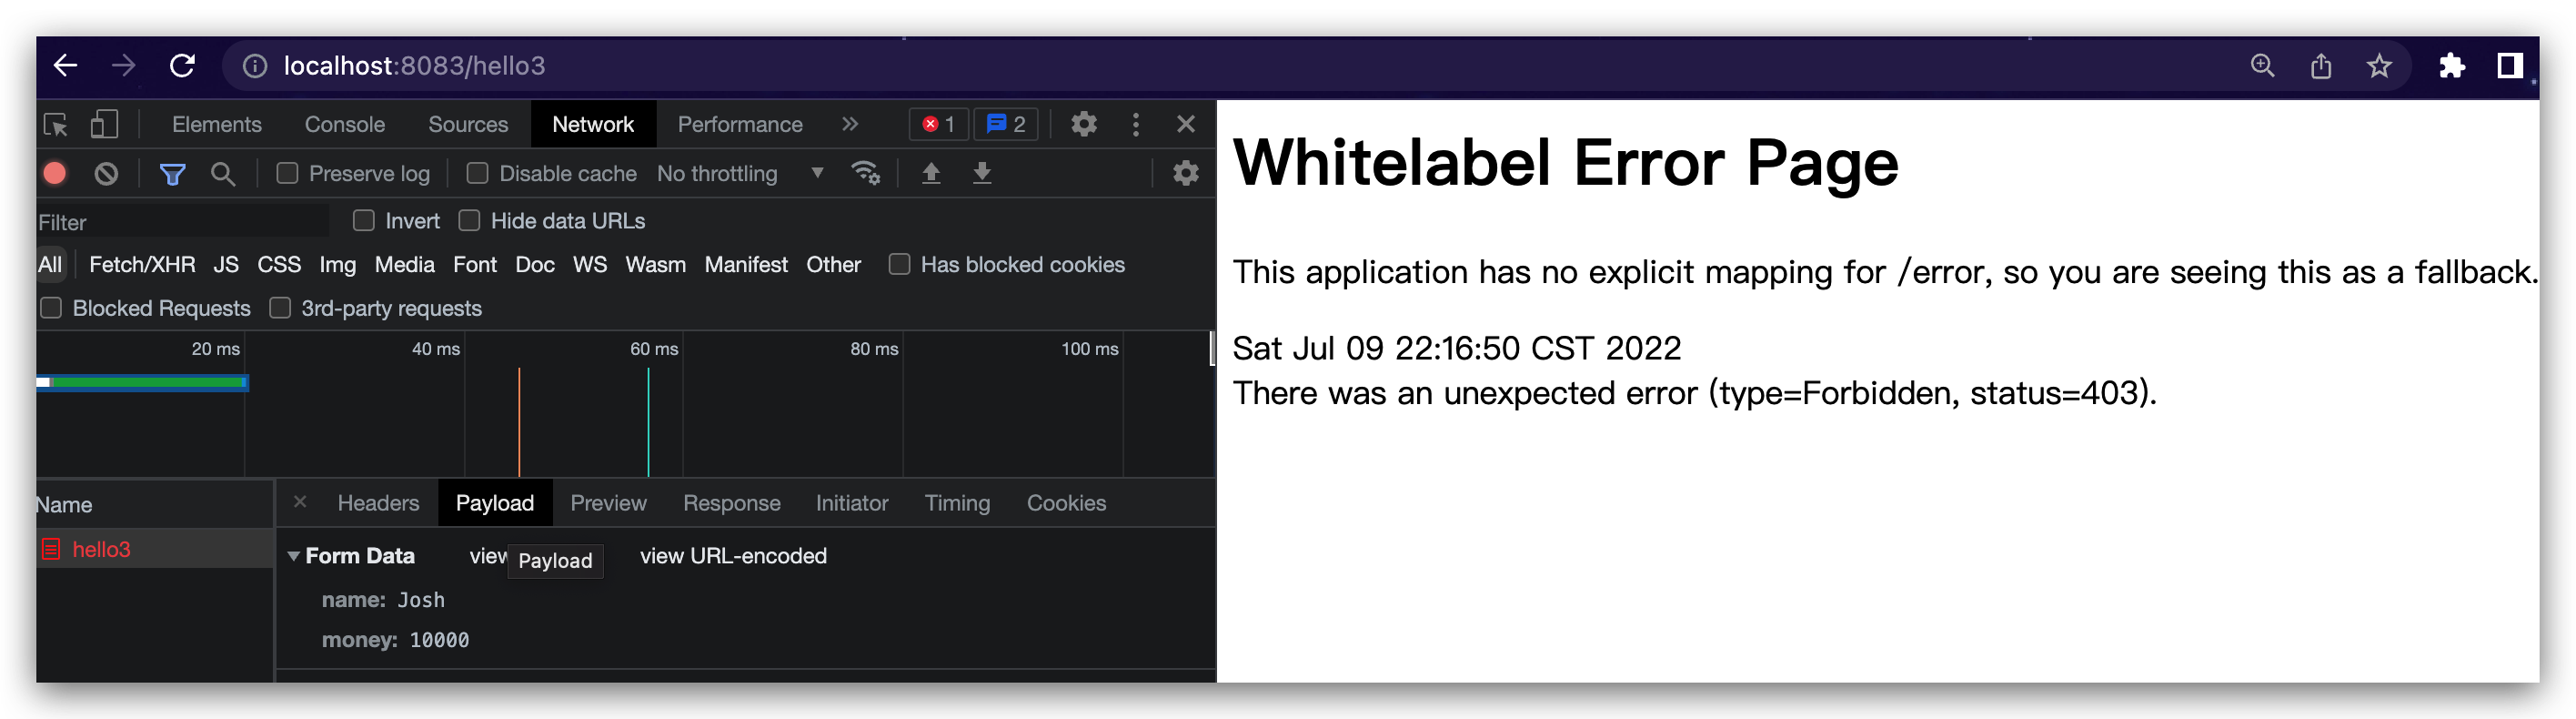
所以结果看出CSRF防御已经生效了.
前后端分离项目解决方案
如果是前后端分离项目,Spring Security 也提供了解决方案。
Spring Security配置
这次不是将 _csrf 放在 Model 中返回前端了,而是放在 Cookie 中返回前端,配置方式如下:
1
2
3
4
5
6
7
8
9
10
11
| @Configuration
public class SecurityConfig extends WebSecurityConfigurerAdapter {
@Override
protected void configure(HttpSecurity http) throws Exception {
http.authorizeRequests().anyRequest().authenticated()
.and()
.formLogin()
.and()
.csrf().csrfTokenRepository(CookieCsrfTokenRepository.withHttpOnlyFalse());
}
}
|
可能有人会说放在 Cookie 中不是又被黑客网站盗用了吗?其实不会的,大家注意如下两个问题:
- 黑客网站根本不知道你的 Cookie 里边存的啥,他也不需要知道,因为 CSRF 攻击是浏览器自动携带上 Cookie 中的数据的。
- 我们将服务端生成的随机数放在 Cookie 中,前端需要从 Cookie 中自己提取出来 _csrf 参数,然后拼接成参数传递给后端,单纯的将 Cookie 中的数据传到服务端是没用的。
理解透了上面两点,你就会发现 _csrf 放在 Cookie 中是没有问题的,但是千万注意⚠️,配置的时候我们通过 withHttpOnlyFalse 方法获取了 CookieCsrfTokenRepository 的实例,该方法会设置 Cookie 中的 HttpOnly 属性为 false,也就是允许前端通过 js 操作 Cookie(否则你就没有办法获取到 _csrf)。
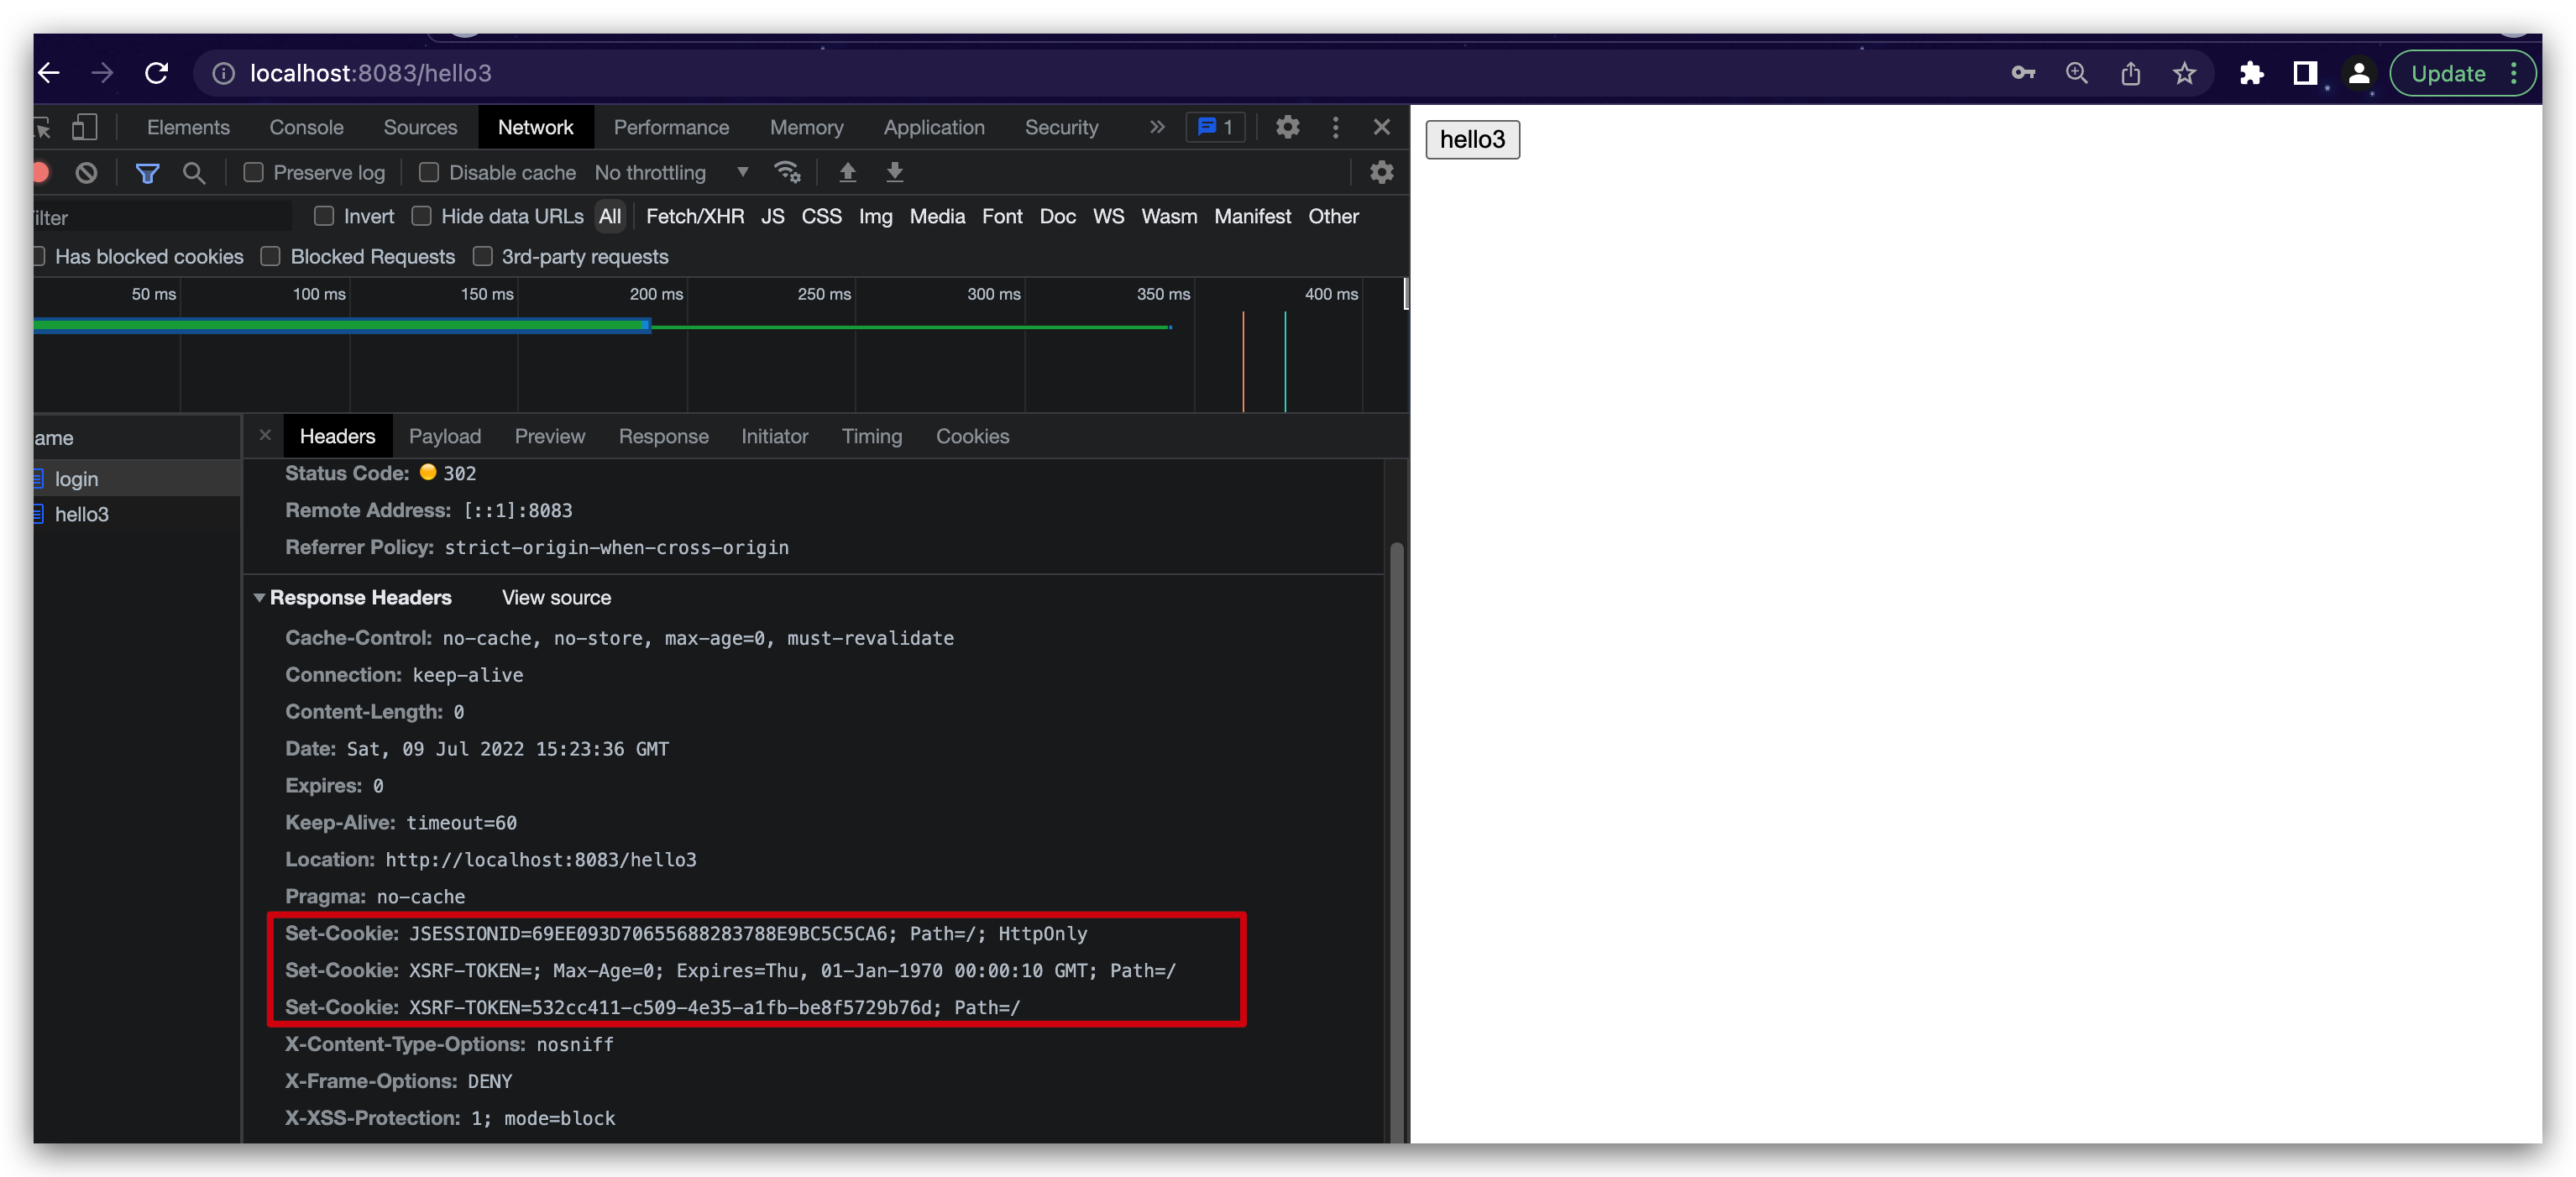
配置完成后,重启项目,此时我们就发现返回的 Cookie 中多了一项:
前端页面准备
在static目录下新建vue.html
1
2
3
4
5
6
7
8
9
10
11
12
13
14
15
16
17
18
19
20
21
22
23
24
| <!DOCTYPE html>
<html lang="en">
<head>
<meta charset="UTF-8">
<title>Title</title>
<script src="js/jquery.min.js"></script>
<script src="js/jQuery-cookie.js"></script>
</head>
<body>
<div>
<input type="text" id="username">
<input type="password" id="password">
<input type="button" value="登录" id="loginBtn">
</div>
<script>
$("#loginBtn").click(function () {
let _csrf = $.cookie('XSRF-TOKEN');
$.post('/login.html',{username:$("#username").val(),password:$("#password").val(),_csrf:_csrf},function (data) {
alert(data);
})
})
</script>
</body>
</html>
|
这段 html 我给大家解释下:
- 首先引入 jquery 和 jquery.cookie ,方便我们一会操作 Cookie。
- 定义三个 input,前两个是用户名和密码,第三个是登录按钮。
- 点击登录按钮之后,我们先从 Cookie 中提取出 XSRF-TOKEN,这也就是我们要上传的 csrf 参数。
- 通过一个 POST 请求执行登录操作,注意携带上 _csrf 参数。
服务端修改
因为引入了JS文件,服务端我们也稍作修改,配置JS放行, 在SecurityConfig类添加